Pre-ip Propagation Tutorial
Overview
Although you will most likely wish to fully utilise your website only once a domain name is configured and fully propagated, it is possible to both upload and access your website prior to domain name assignment or propagation. This tutorial will briefly walk you through the steps involved in uploading your site via its IP address, configure various site settings via cPanel using the site’s IP address, and demonstrate how you can configure your OS to access the site via its IP address before your domain has propagated.It is recommended that you have a copy of your Net Logistics Welcome Mail in hardcopy, or easily accessible, as you will require information from that e-mail in the sub-tutorials below.
Section 1: Uploading Your Site Via its IP Address
The general procedure for conducting uploads to your web hosting account prior to DNS propagation is to simply use your assigned IP address (rather than your domain name) when using your FTP client. The example below assumes you are using FileZilla as your FTP client — you can, however, simply adjust the steps for your FTP client of choice, if it is other than FileZilla.Step 1: Launch your FTP Client as you normally would. If you do not have an FTP Client, and are using Microsoft Windows®, you can install and start FileZilla. When you start FileZilla, you will see a screen similar to that below:
Click the image above to see it in a larger view.
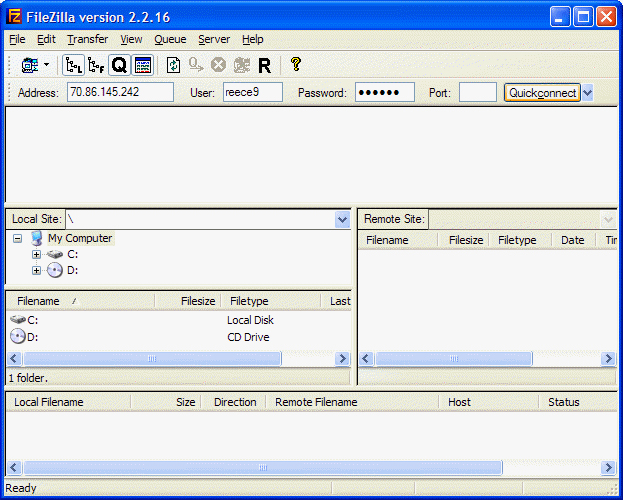
Step 2: You will wish to locate your server IP address, account username, and account password. All of that information will be in your Welcome E-Mail. In the case below, we will assume the IP address is 70.86.145.242, and the username is reece9. You will wish to enter each of these into the Address, User, and Password boxes of FileZilla, respectively. You may leave the Port box blank. Click on the Quickconnect button.
Click the image above to see it in a larger view.
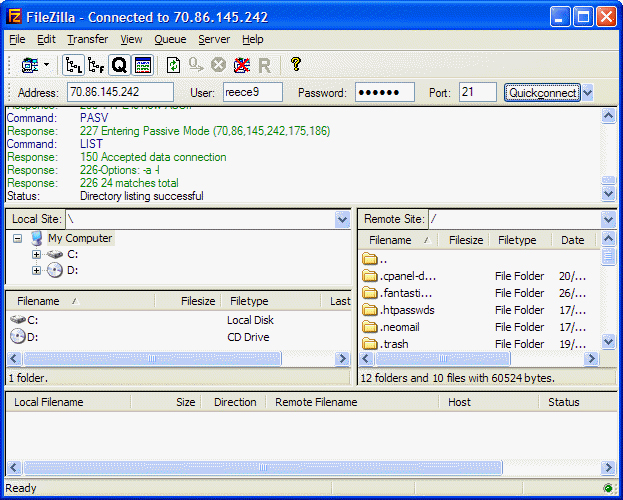
The status window should display some information, indicating whether or not your connection attempt was successful. If it has worked properly, you will see a directory tree of the "Remote Site" in the right-hand, middle window pane, as demonstrated below:
Click the image above to see it in a larger view.
Step 3: You can now upload your files at will, as you normally would. When you have finished, you can simply close FileZilla.
Note: It is also possible to upload files using the File Management feature of cPanel. If you need to only upload a small number of files, or for some reason do not wish to install an FTP client, you can follow the steps below to connect to your cPanel account management interface. Once you have logged in there, you can simply click on File Manager to access the cPanel File Manger interface, which provides a file upload facility.
Section 2: Accessing Your Site’s Control Panel Via its IP Address
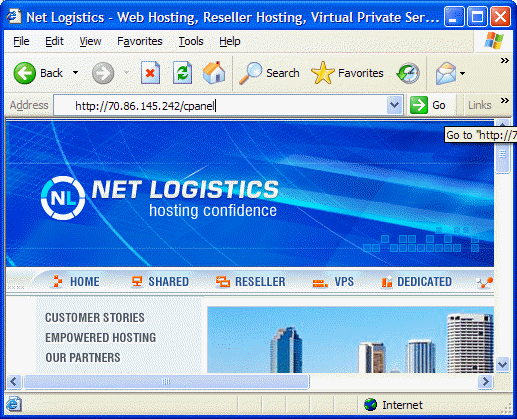
Step 1: In order to access the Control Panel for your site (assuming you are using cPanel), you simply need to visit the URL http://YOUR_SERVER_IP/cpanel (of course substituting YOUR_SERVER_IP for the actual server IP address provided to you in your Welcome Mail.Assuming the IP address is 70.86.145.242, the URL would become http://70.86.145.242/cpanel, as demonstrated below:
Click the image above to see it in a larger view.
Step 2: You will be prompted to enter your username and password. These are provided in your welcome mail; simply enter them, and press OK.

Step 3: You should now be logged into cPanel. You may use it as you normally would.
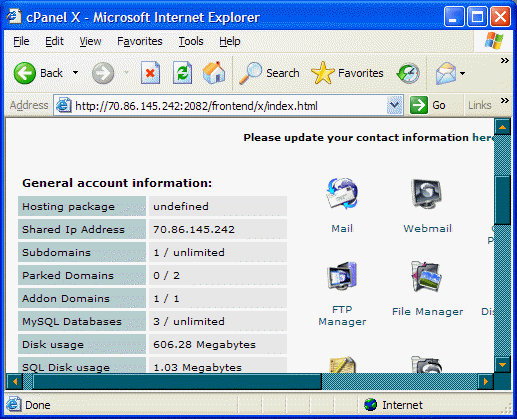
Click the image above to see it in a larger view.
Section 3: Accessing your Domain Before its IP has Propagated
There are two methods of accessing your account before domain propagation has occurred — the first, accomplished by editing your Operating System’s "HOSTS" file, enables you to access your site via it’s assigned domain name prior to propagation. The second, which does not require any configuration file modifications, simply uses the mod_userdir feature of the web server — enabling you to access your site via the url http://YOUR_SERVER_IP/~your_username.
Section 3a: Accessing Your Domain Before its IP has Propagated: The .HOSTS Method
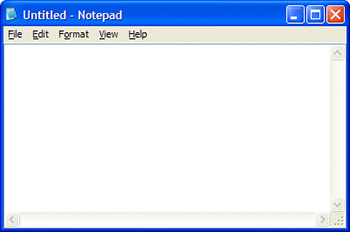
This first method assumes you are using Microsoft Windows® XP. Modifications for other versions of Windows are presented as required.Step 1: Open your preferred text editor. Microsoft Windows® Notepad is sufficient, and will be used in the example below:
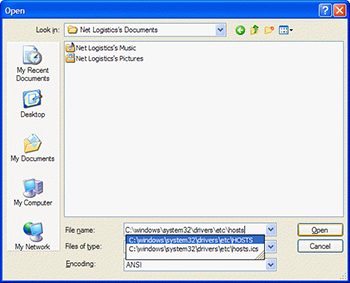
Step 2: Open the file C:\windows\system32\drivers\etc\hosts. Other possible locations of the file are as follows:
For Windows NT, 2000, and XP Pro: c:\winnt\system32\drivers\etc\hosts.
For Windows 95/98/ME: C:\windows\hosts.
Note: It is possible that you will need to use an account with Administrator privileges to access the hosts file.
Step 3: You will wish to insert a new line to your HOSTS file — inserting it as the new final line in that file. It should read (substituting for the values given in your Welcome Mail):
your_server_ip_address your_domain_name
Assuming the IP address is 70.86.145.242, and the domain is demodomain.com, the line would be:
70.86.145.242 demodomain.com

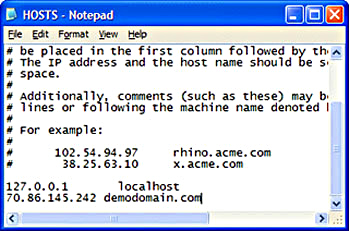
Step 4: Save the file and exit your text editor. You can now access your domain name on your system. If you already have a browser open, you will need to restart it in order for the changes to the HOSTS file to take effect. Note: Once your domain has propagated, you may wish to remove this entry from your HOSTS file, as any future IP address changes to your server would make it inaccessible from your system.
Section 3b: Accessing Your Domain Before its IP has Propagated: mod_userdir Method
This is by far the easiest method for accessing your account: simply access it in your web browser using the URL http://your_server_ip_address/~yourusername. In the example shown below, that is http://70.86.145.242/~reece9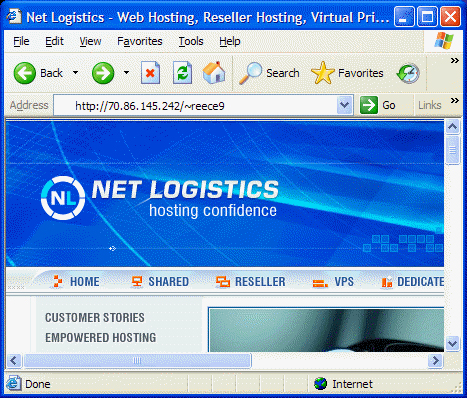
Click the image above to see it in a larger view.